Terrain Board
Throughout history, armies have used aids to help train and brief soldiers on tactics and upcoming missions. One of the most effective is the Terrain Board, often called a Terrain Model or "Sand Table". They can be as simple as an area of ground scraped of debris, with lines etched into the dirt with a stick to represent rivers, roads, directions of attack and whatnot. They can be as elaborate as actual three dimensional models made out of rubber, foam or plastic, and embelished with miniature representations of trees and buildings and other features. Recently, computer generated copies of a parcel of the earth viewed in virtual reality on a computer monitor have become a favorite of armies that can afford them.
To assist our members in learning the complexities of WW2 armoured reconnaissance, we have built a terrain board of a local area that we will be using for practicing field craft, doctrine, and for use for historical reenactments. Below you will find the steps in the construction of the terrain board, and descriptions of it's function in training.
To assist our members in learning the complexities of WW2 armoured reconnaissance, we have built a terrain board of a local area that we will be using for practicing field craft, doctrine, and for use for historical reenactments. Below you will find the steps in the construction of the terrain board, and descriptions of it's function in training.
|
The first step in constructing a terrain board is to select the area of the earth to be represented. Then a topographic map of that area must be acquired. Once the map has been secured, then the scale of the terrain board must be determined. Our partiular scale is 1:500, so that a 2000' by 2500' piece of land can be modelled on a 4' by 4.5' sheet of plywood. This also makes it handy for using micro-armour, which is in a scale of 1:285 or 1:300, depending on the manufacturer, so that the terrain model is 60% of the scale of the armour, and isn't too far out of scale to prevent training from being realistic.
|
|
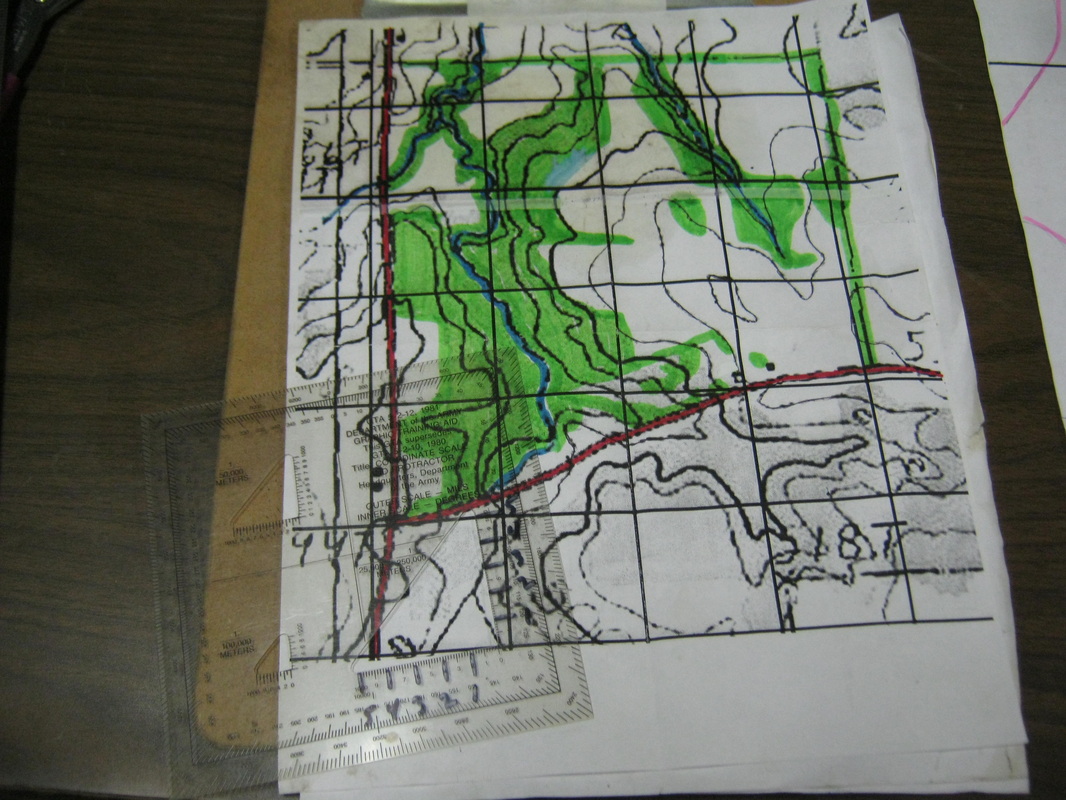
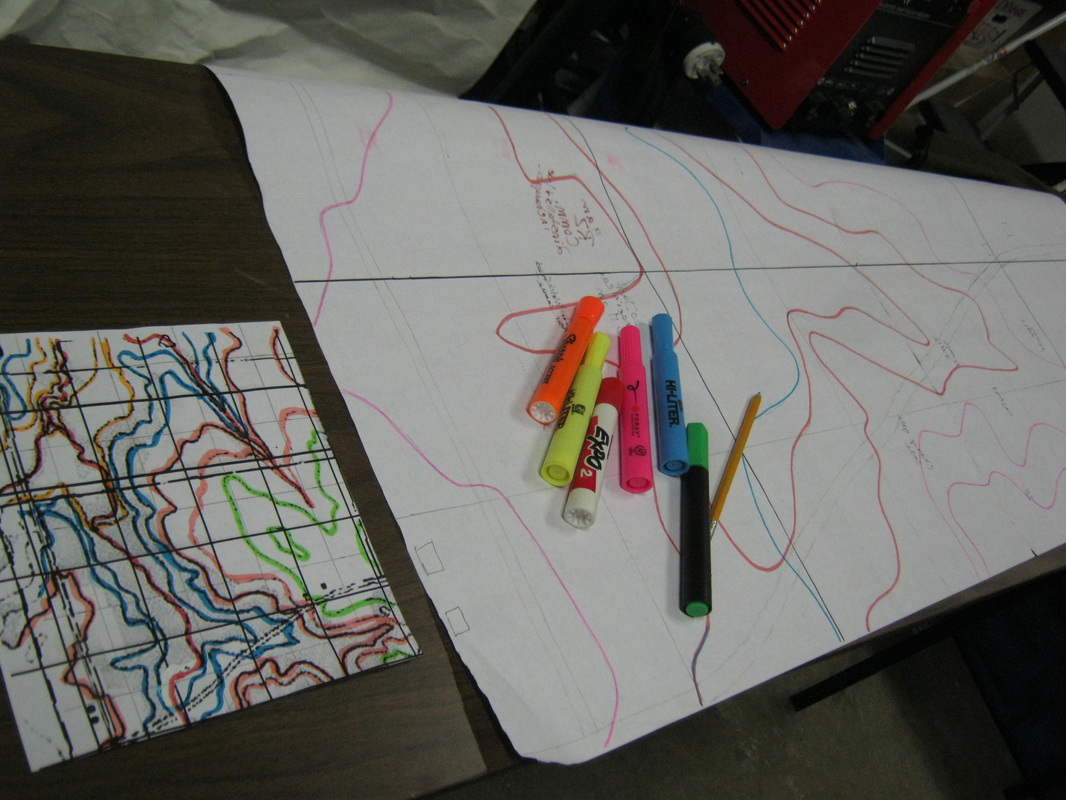
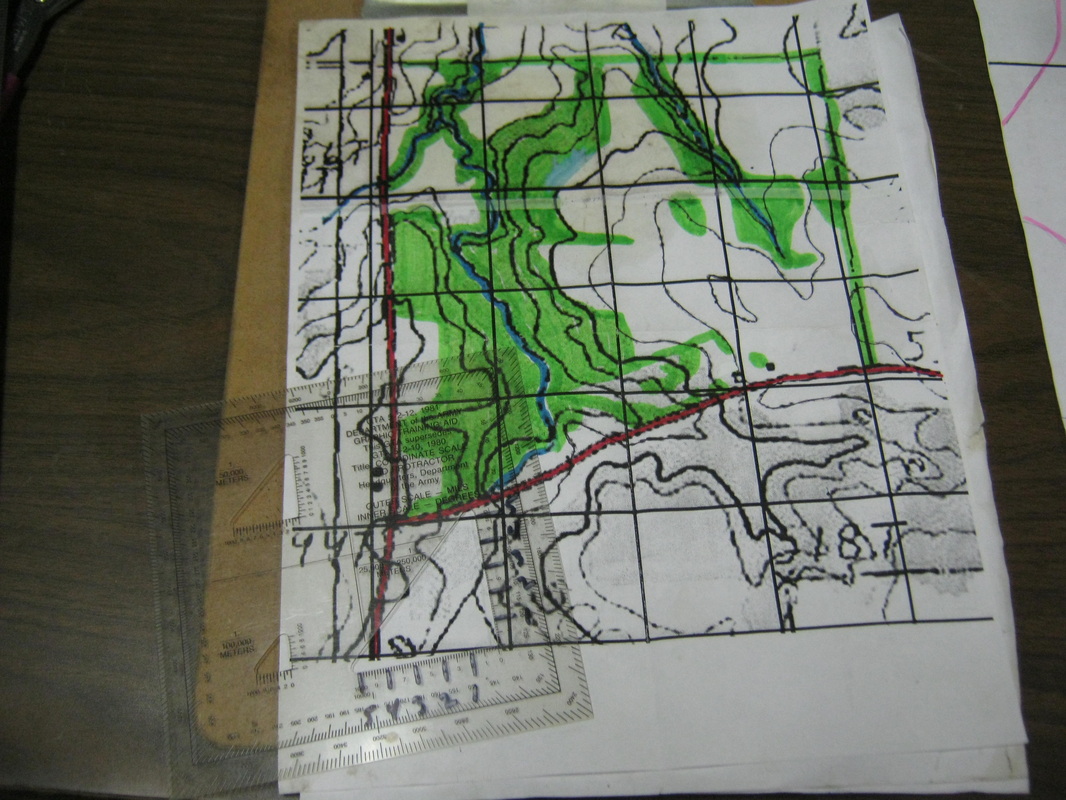
To the upper left is the map of the area to be modelled. The grids (squares) on the map are 500' by 500'. To the upper right, the map is transcribed onto a 4'x4.5' paper, with each square foot equalling a scale 500' square of actual land. The contour lines, roads and streams are all placed on the paper exactly as they are on the map. This paper will be a template for transferring the map into three dimensions onto the model. The paper is laid on the first sheet of styrofoam insulation board (3/8" thick), and then a utility knife is used to cut along the lowest contour line of the template, straight through the foam board.
|
|
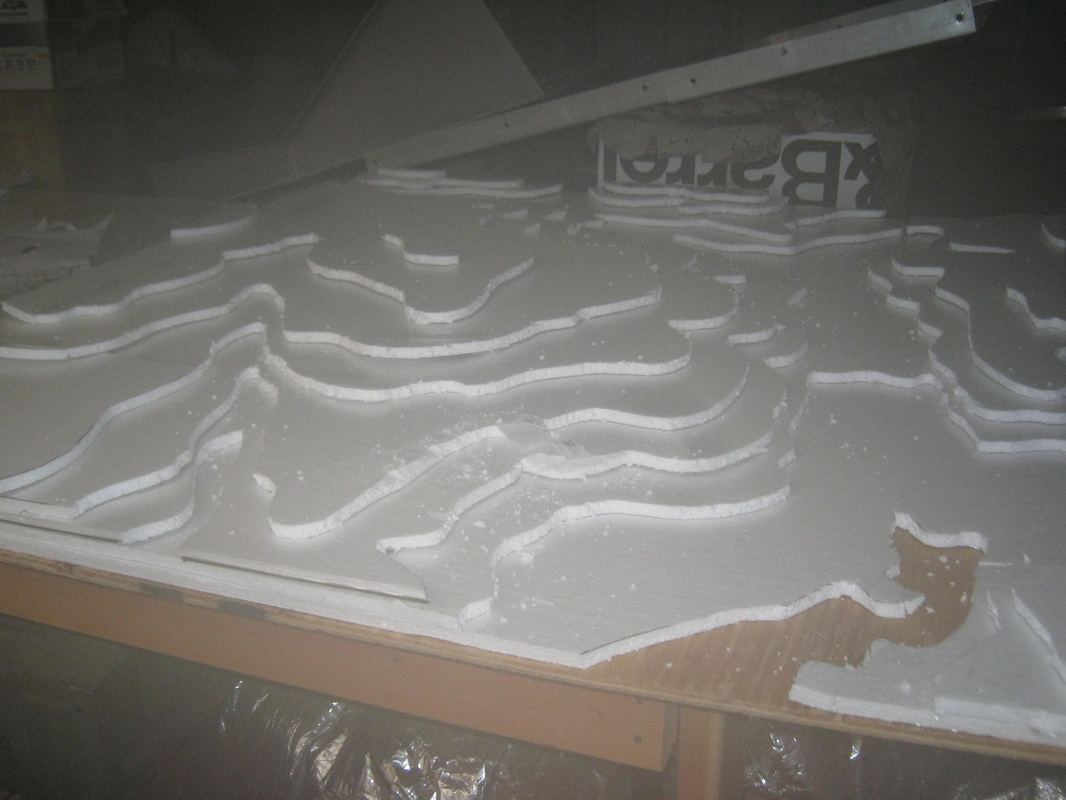
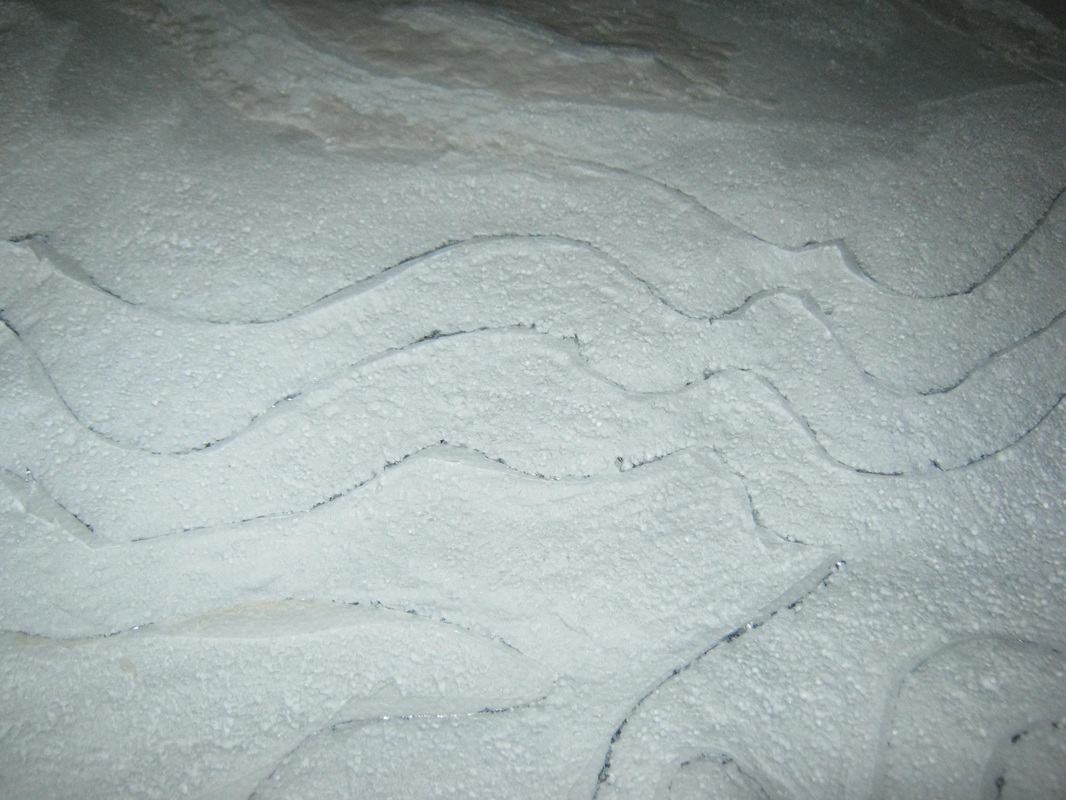
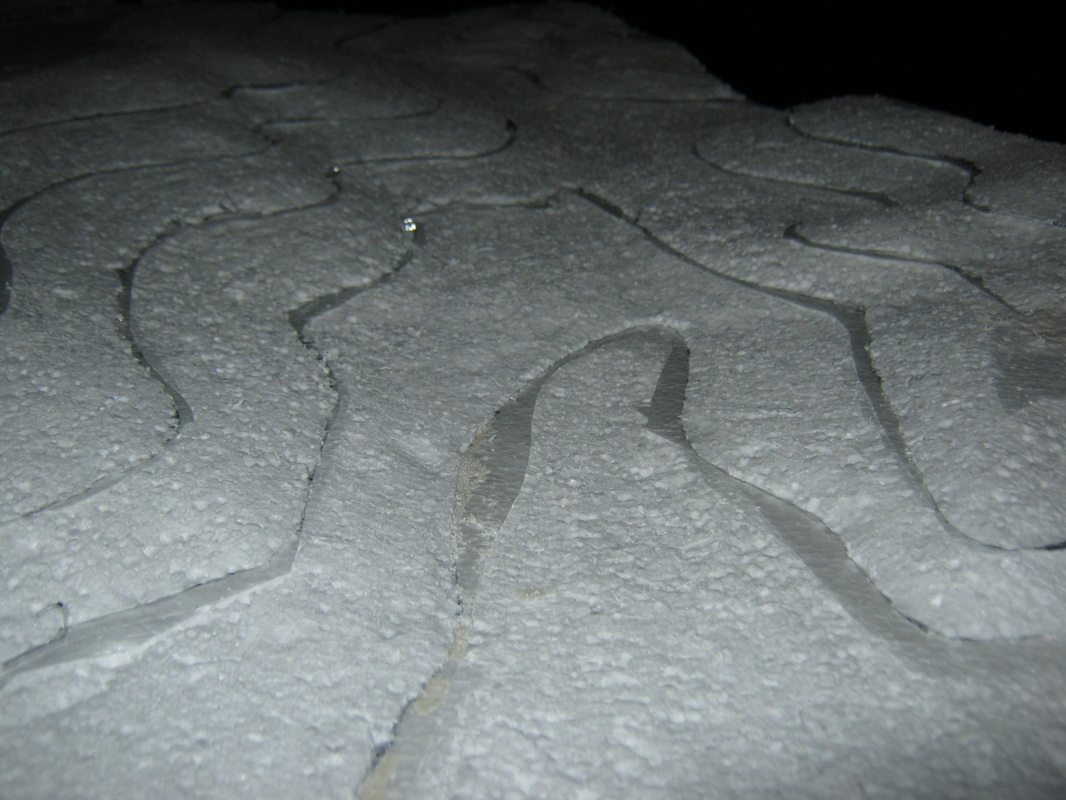
The first foam board is laid on the plywood, and then the template is laid on the second sheet of foam board and the next contour line is cut. This is repeated with each contour line, and the layers placed on top of each other, forming a 'wedding cake' untill all contour is in place. The upper left shows the 'cake' with all layers in place. These are glued down, and once dry, a dremel with sanding drum is used to shave down the layers until the true form of the land is complete, with final shaping done by 36 grit sand paper with hand. The upper right photo shows the contour taking shape. The left photo shows the relationship of the contour lines to the actual shape of the land, with final contour shown to the right.
|
|
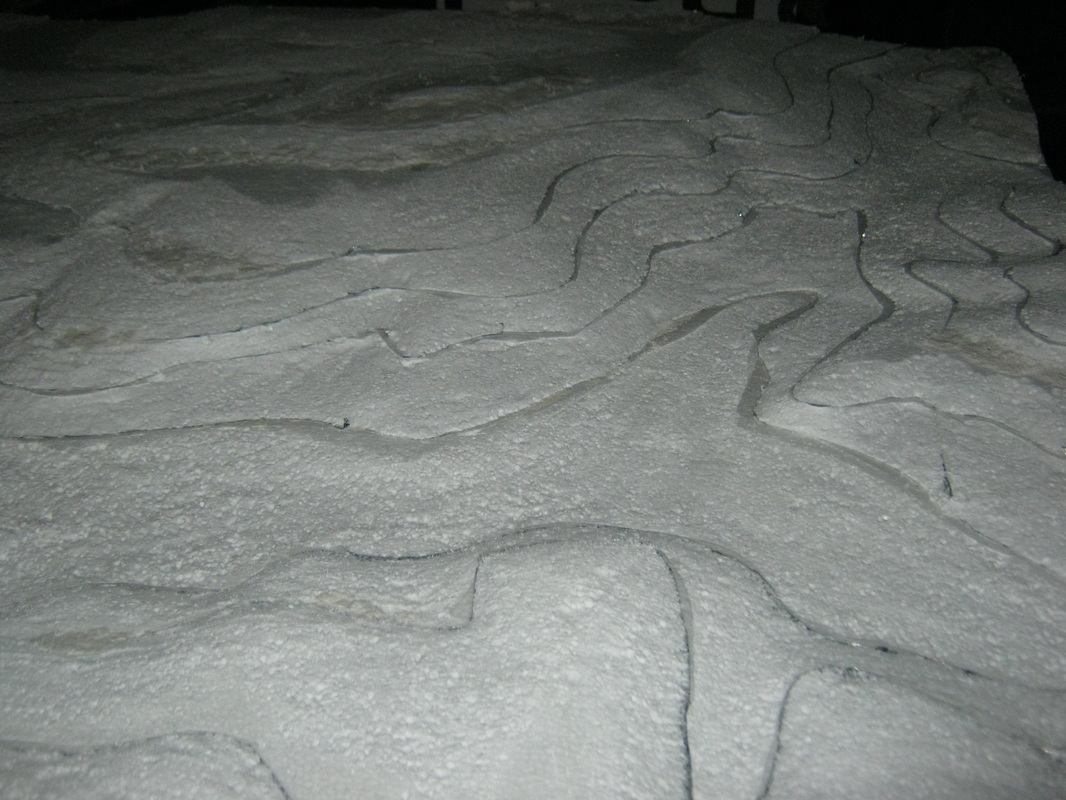
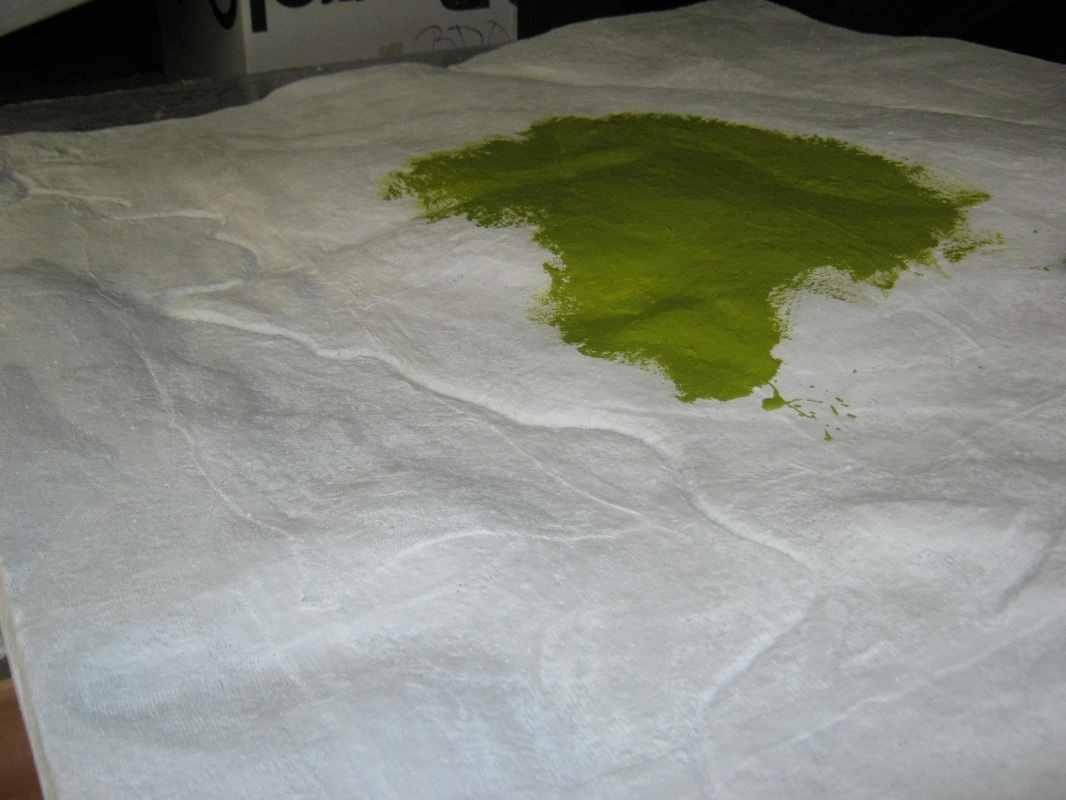
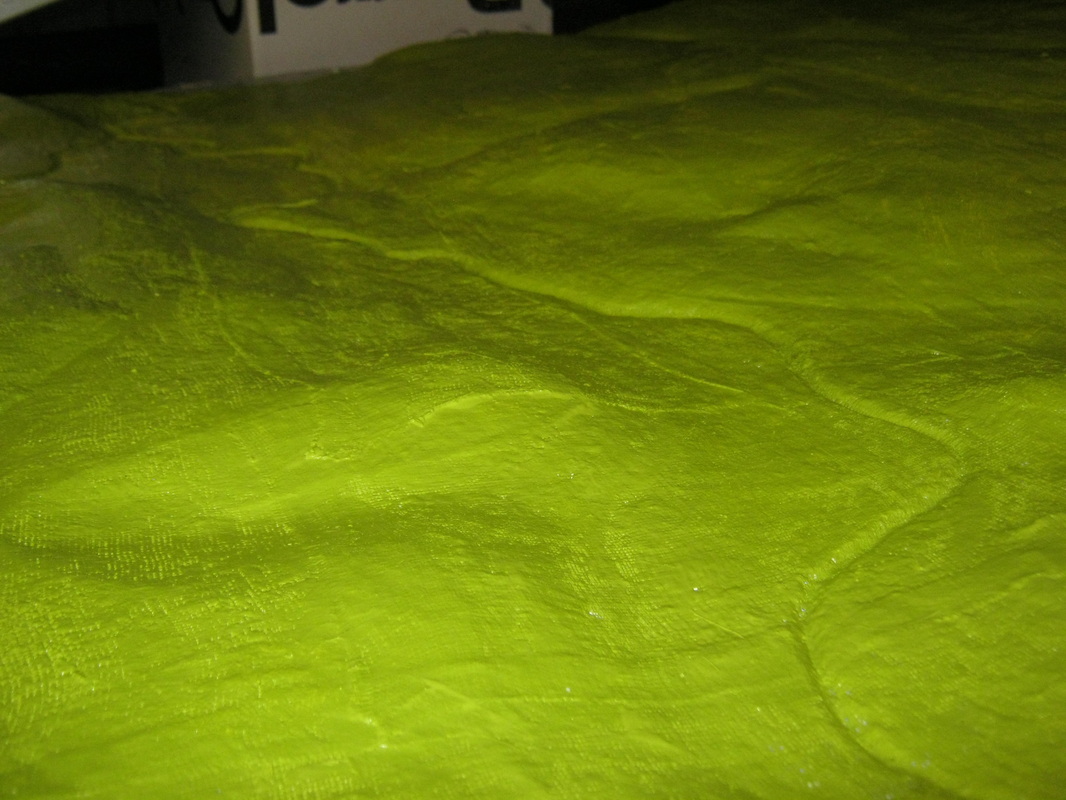
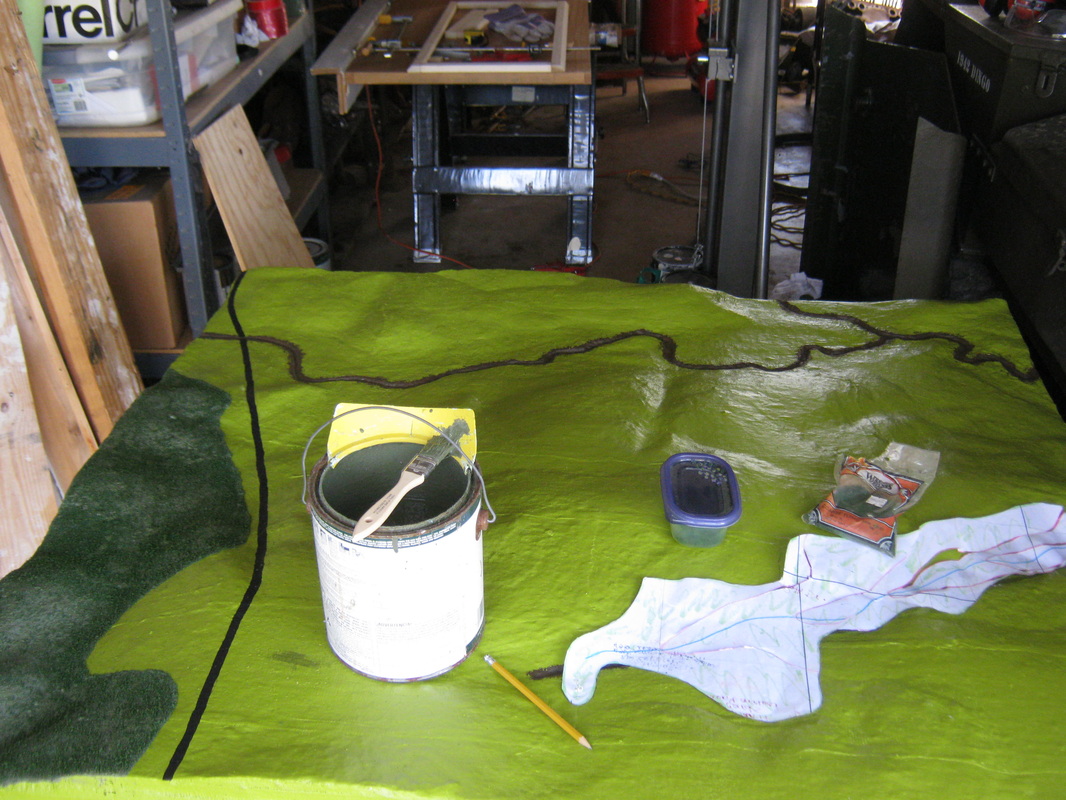
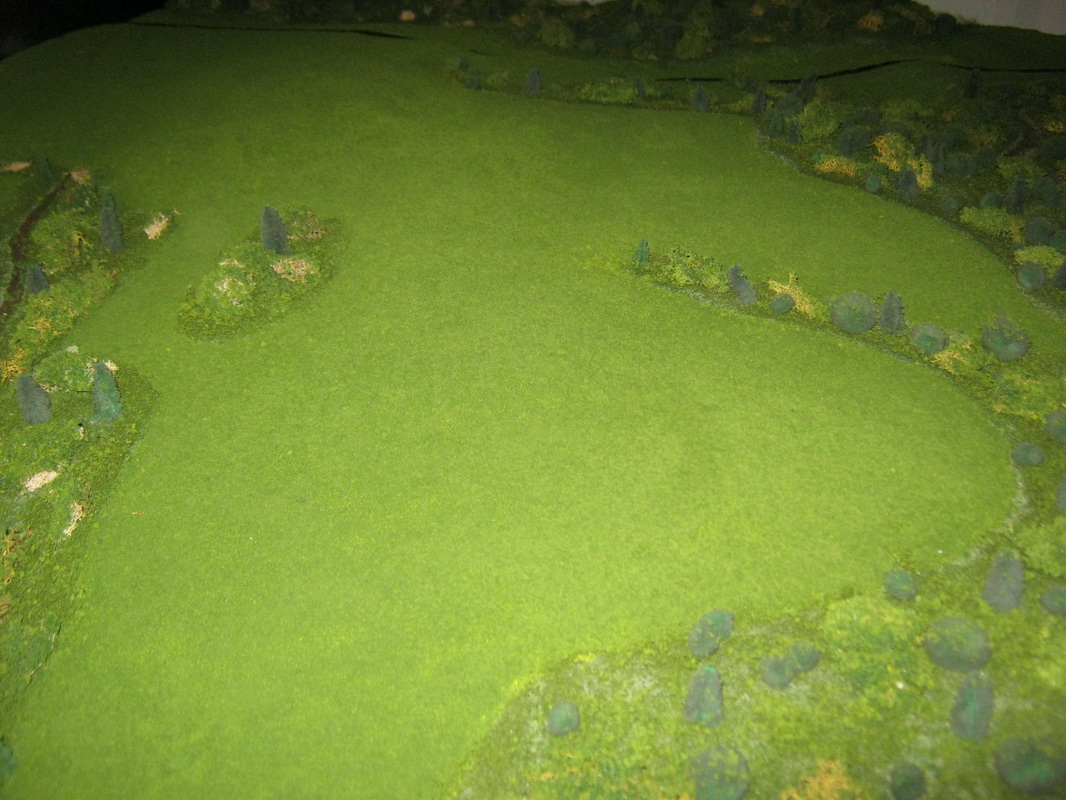
Once the contour of the board is complete, a hard shell is applied over the styrofoam by using 'plaster cloth', the same stuff they used to make casts for broken arms and legs with. The left photo shows the hard shell applied, and the shape of the land is really starting to show, with streams going down the valleys and the slopes of hills and whatnot. The plaster cloth, once dry, is painted with latex paint, in as many coats as is necessary to fill in all the holes in the cloth and to eliminate any white showing through the base color of the model. To the right, the board appears as rolling hills of grassland.
|
|
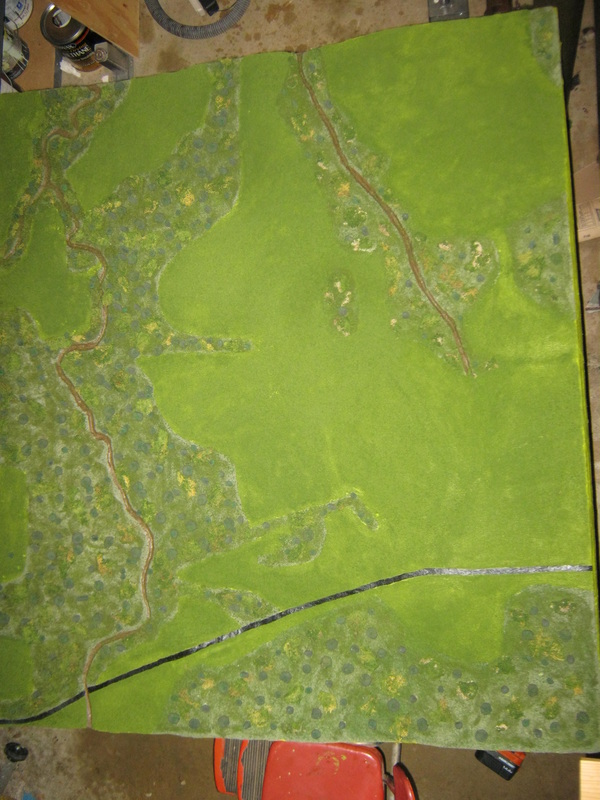
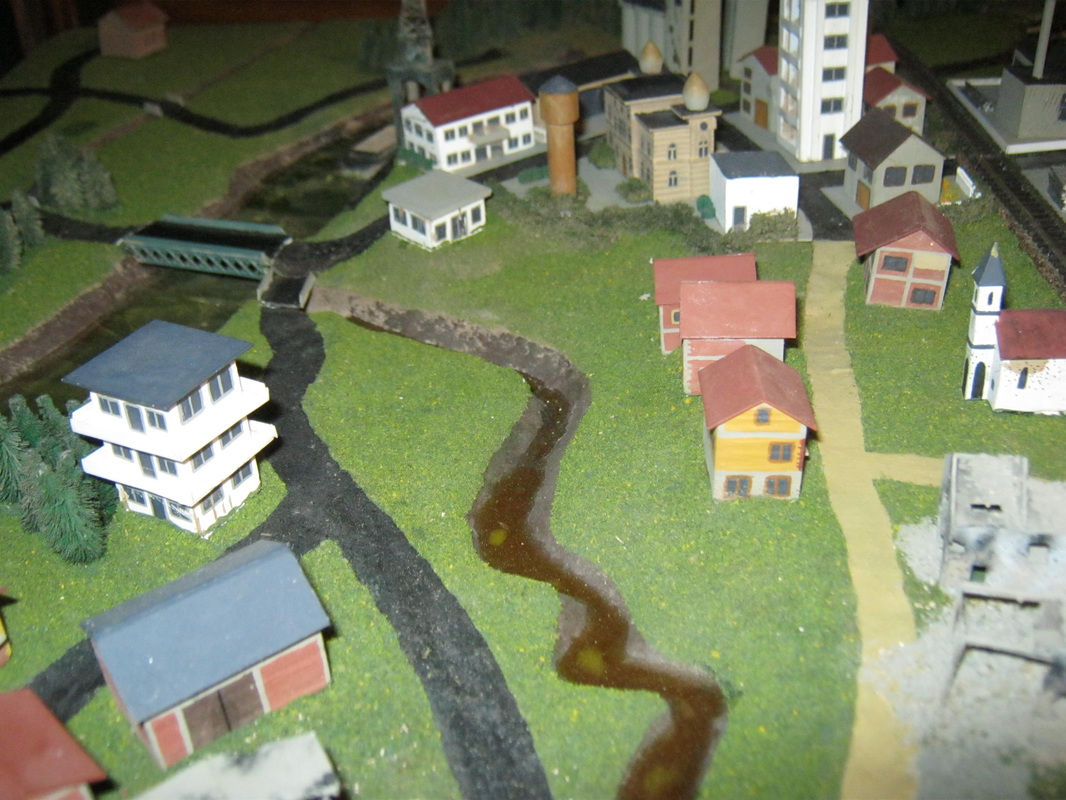
While the base coat of paint is drying, the template is taped back together completely, and the forests and roads and streams and whatnot are cut out of the template. When the paint is dry, the streams can be painted with earth or clay colored paint, depending on the makeup of the soil in the area being modelled. The forested areas are laig onto the board and traced with a pencil after ensuring proper allignment using the rest of the template to ensure proper positioning. A darker green paint is used to paint the forested areas, and dark green 'ground foam' sprinkled on to texture the forest floor. Any roads are painted on with a narrow brush using black for paved roads and dirt colored paint for unpaved roads. To the left is the board in transition, with the stream beds, road and first patch of woods painted in place. To the right is the completed terrain board as seen from above.
|
|
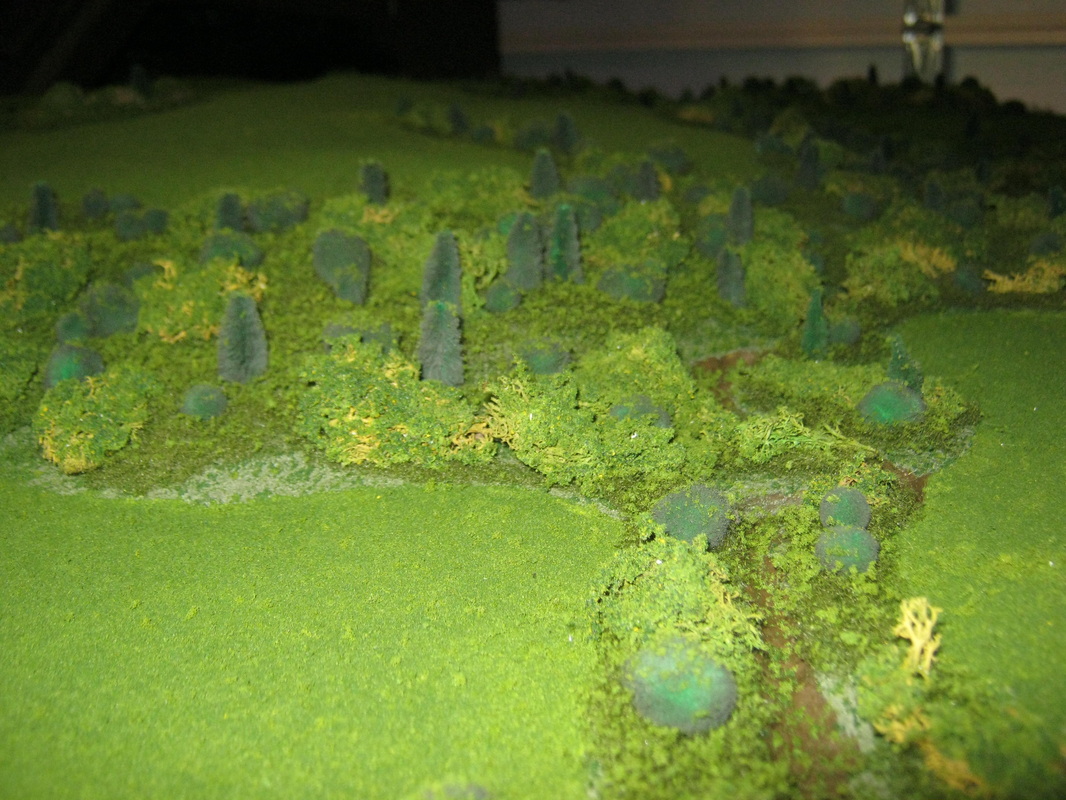
Compare the photo of the completed terrain board at upper right with the map of the area modelled in the photo to the right. The wooded area to the south of the paved road is not hilited in green on the map, but was later for the construction work. This is a good display of how the earth looks two dimensional from above, just as the map is, but how the shape can be represented by a line (contour line) connecting all points on the map of the same elevation. The photo at left shows the actual shape of the land as viewed from side, accurately modelled from the map to represent what is really there.
|
|
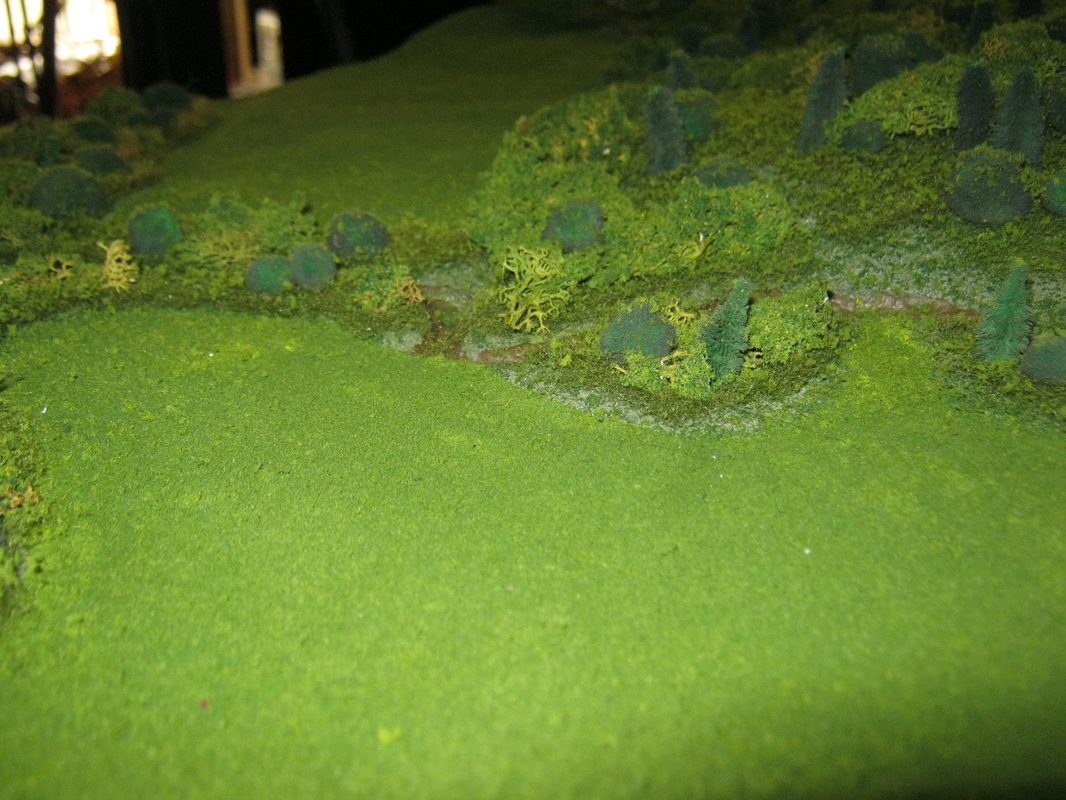
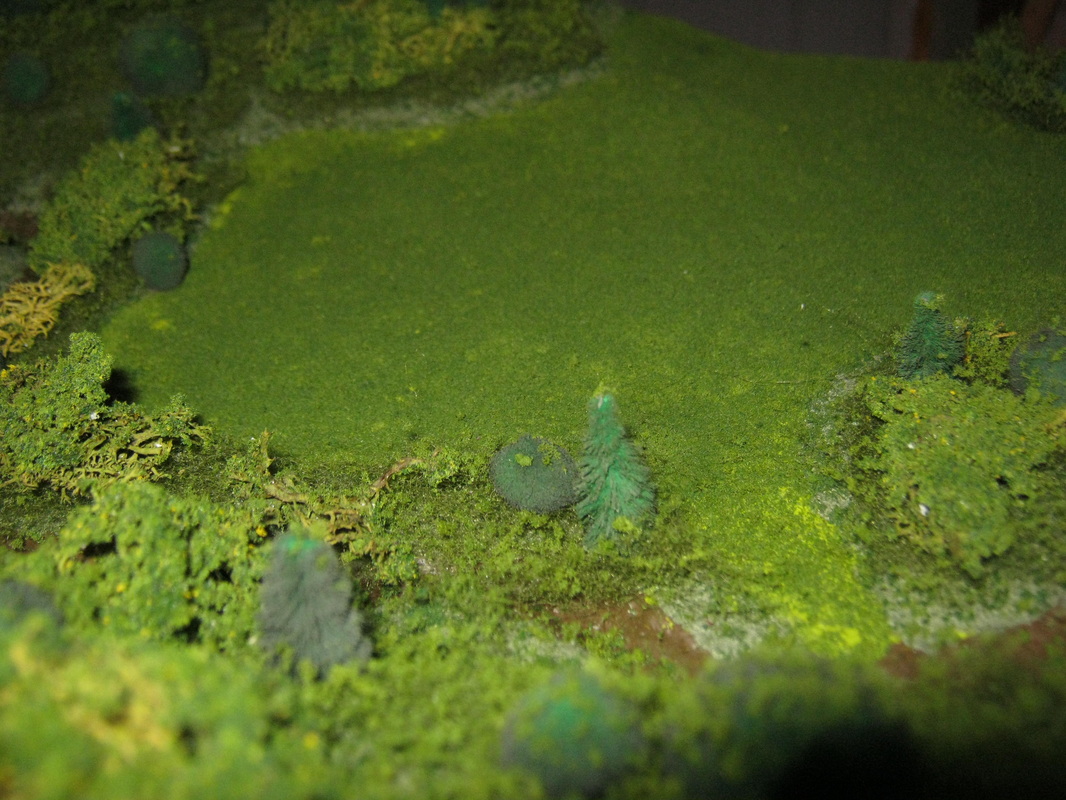
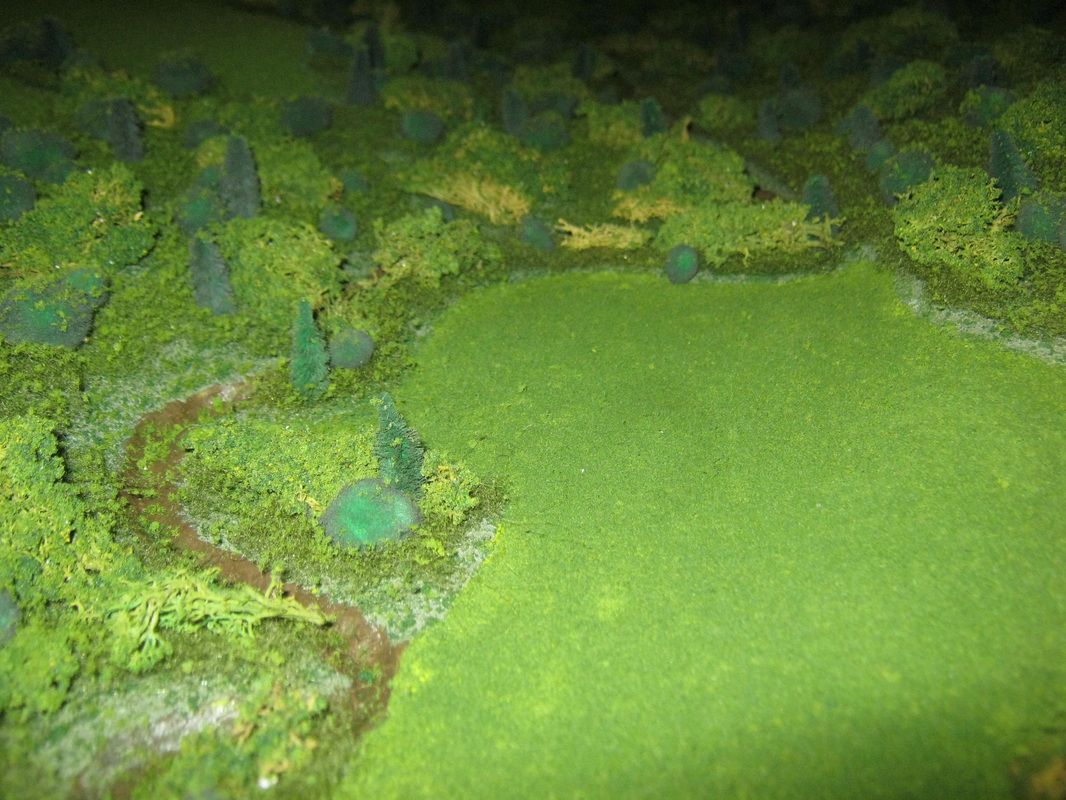
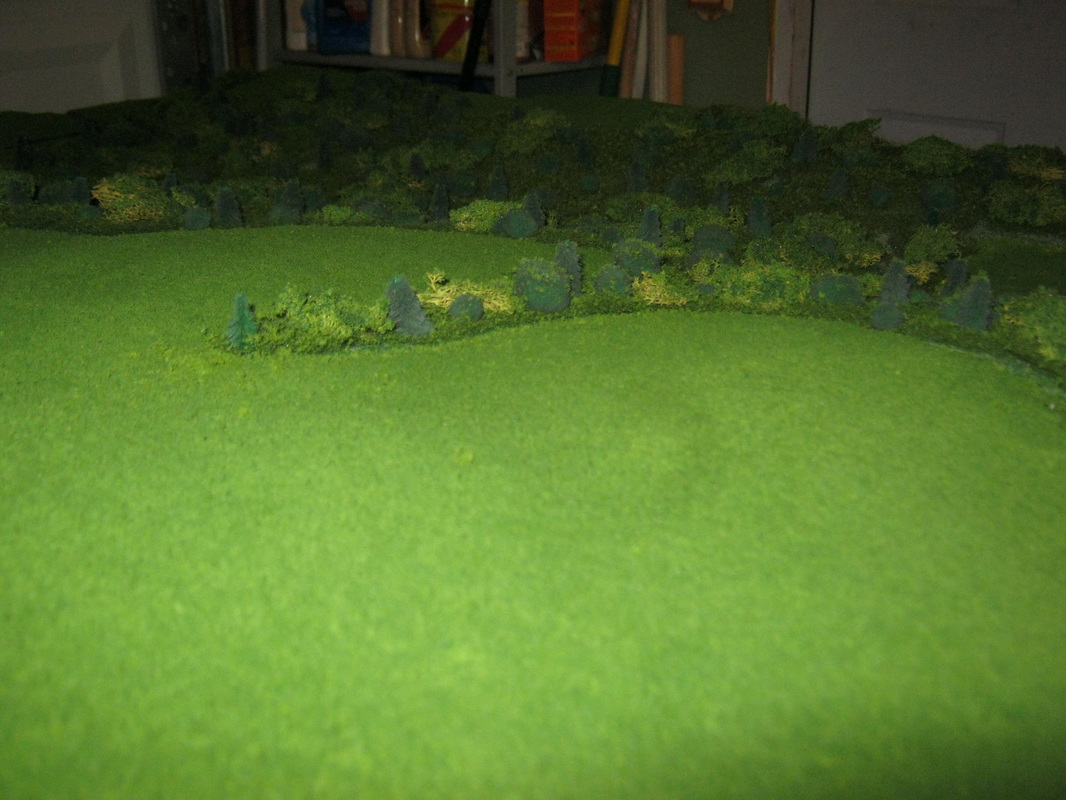
The photo to the left shows a good contrast of the wooded areas to the grassy areas of meadows or fallow farm fields. The grassy areas are made by adding another coat of the lighter base green paint and sprinking finely ground 'grass'
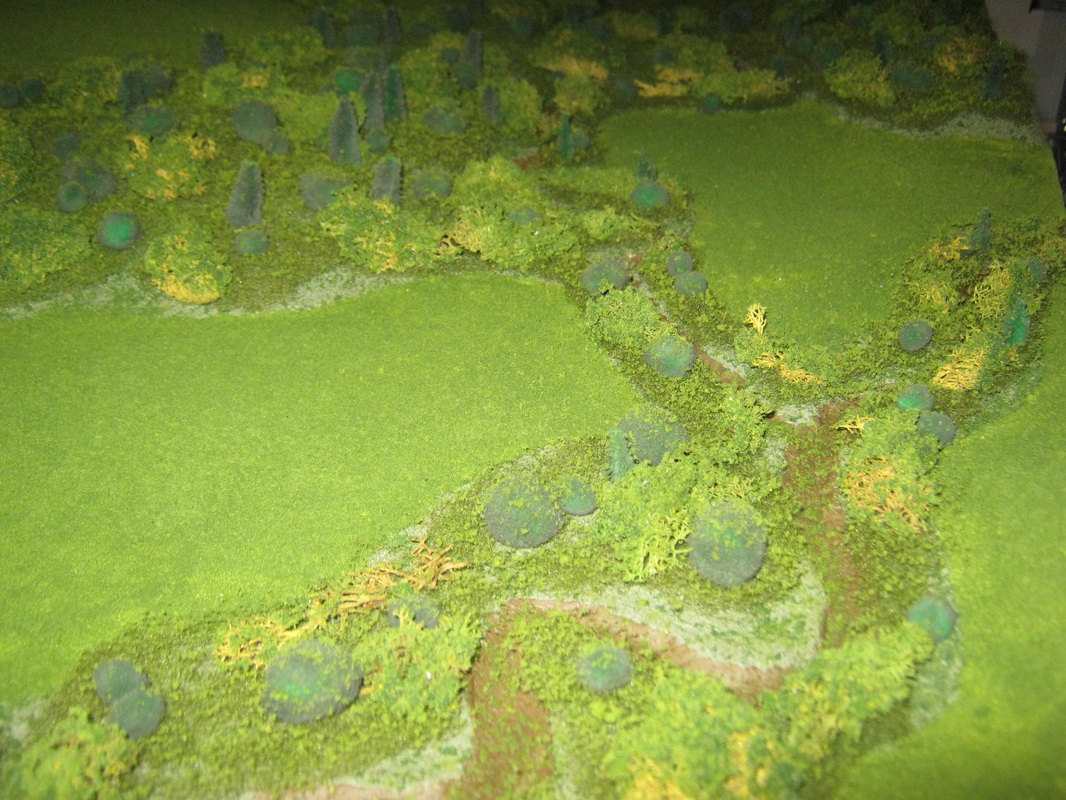
'ground foam' onto the wet paint with a large plastic bottle with holes drilled in the lid similar to a salt or pepper shaker. The photo to the right shows better detail of the wooded areas. On top of the base coat of dark green wet paint is sprinkled course ground dark 'ground foam'. On top of that is spread very thinly stretched 'poly fiber' with coarse light green 'ground foam' sprinkled on it to represent undergrowth. |
|
The wooded areas are then built up by 'populating' them with bushes and trees made from various sizes of pom poms spray painted OD, evergreen trees made from 'chenille bumps', which look like big pipe cleaners, sprayed OD, and deciduous trees made from dipping brown and green lychen moss into decoupage glue and rolling them in various green shades of course 'ground foam'. The evergreen trees are glued in by punching holes in the board with a nail, dabbing the trunk of the trees in glue, and pushing them into the holes. The deciduous (leaf) trees are glued straight onto the poly fiber, pushing them down so the glue soaks through onto the ground below.
|
|
After all the trees and bushes are in place, the forested areas are then sprayed with a liberal spray of 'scenic cement', to wet them, and then the shaker is used to put a fine-to-medium sprinking of course 'ground foam' onto the forests, to give them more of a leafy, wooded texture. Finish the board by spraying the entire thing with a liberal dose of 'scenic cement' to hold everything in place, so the grass won't come off, the trees won't shed, etc. The 'scenic cement' will dry to a clear matt finish, so you won't even know it's there.
|
Training with the terrain board.
Although many armies have used them in the past, probably the army most notable for using them in training has been the German Army, who inherited their use from the Prussian army. "Kriegspiel", or "War Games" were used at all levels to learn how to read maps, how to analyze terrain, and how to employ formations of combat troops using proper tactics for given situations. More notably for the allied armies of WW2, terrain models were constructed in great detail for major operations, such as the D-Day invasion. As an example, elaborate models of the invasion areas of Normandy were built, and then movie cameras on rails suspended over the models were "flown" on the actual flight paths to be used by the airborne transports and gliders, in dim light simulating moonlight. The pilots and officers of the airborne units were shown these movies over and over so they could recognize by memory the flight paths they were to take, with the movies even ending with the cameras "descending" onto the landing zones the gliders were to land on. After the films were made, the models were used by the allied units, such 6th Airborne Division, to practice their missions upon landing. The Division officers were briefed first and rehearsed, then they in turn would brief and rehearse with their brigade officers, and in turn the battalion and company officers, all the way down with the platoon leaders briefing and rehearsing their missions with the men of their platoons.
Leaders can use terrain boards for teaching basic map reading and land navigation skills. Four, six and eight digit grids can be determined on the map, and then their location worked out on the terrain model, and vice-versa. He can point out how the basic terrain features of spurs, draws, ridges, valleys, hills, saddles and depressions are represented on the map and compare them to how they actually appear the ground. He can show the relationships between distances, ranges, speed and maneuver, interact with fields of fire, dead space areas, and avenues of approach. Using miniature vehicles, weapons and troops, tactical SOP's can be rehearsed and bugs found in the plans and worked out. Artillery call for fire procedures can be taught and worked out. All of this can be done before the troops go out into the field to practice with actual vehicles and weapons, saving time and money and to maximize the understanding of how to fight before expensive fuel, ammunition and other materiel and maintenance is wasted teaching basic knowledge that can be learned on the terrain board. Use of the terrain board and "war gaming" allow a unit to be able to visualize a battle and how battle works before it actually happens, giving them a very important edge once the bullets start flying.
This terrain board allows the club members of the 6th AARR to rehearse what we will be doing before we bring our 70 year old vehicles out there and put precious miles and wear and tear on these important historic tracked and wheeled armoured vehicles.
AIRBORNE OPERATION IN MINIATUREOk, I'm almost done painting up my micro armor airborne force. So I couldn't resist seeing how everything is looking so far. The only components left to paint are the crews for the anti tank guns and light artillery, and dry brushing some of the guns to hilite them.
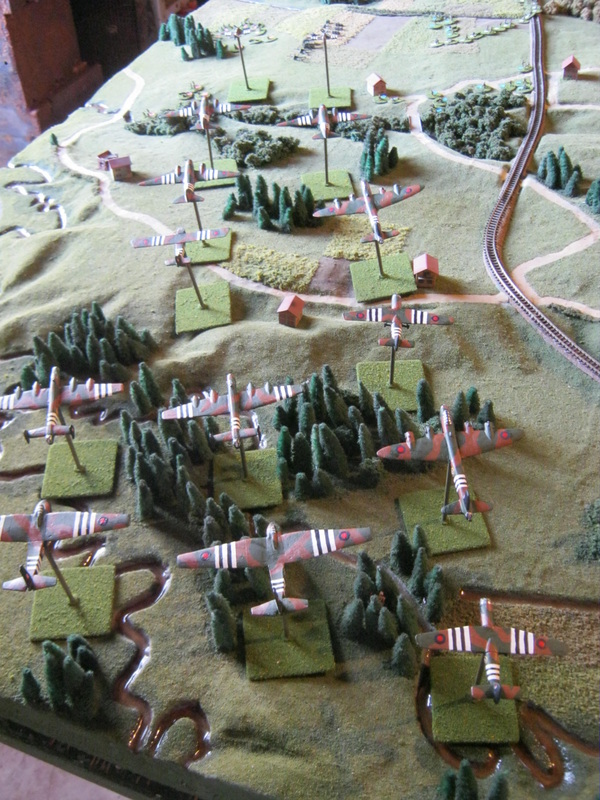
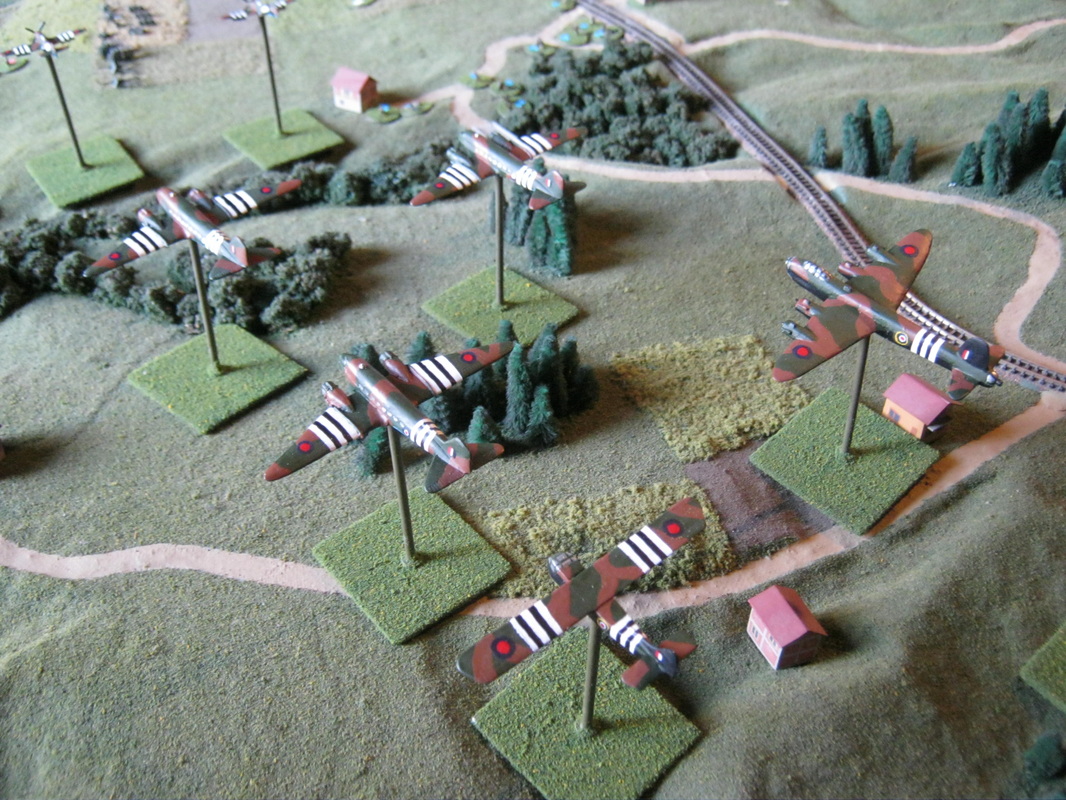
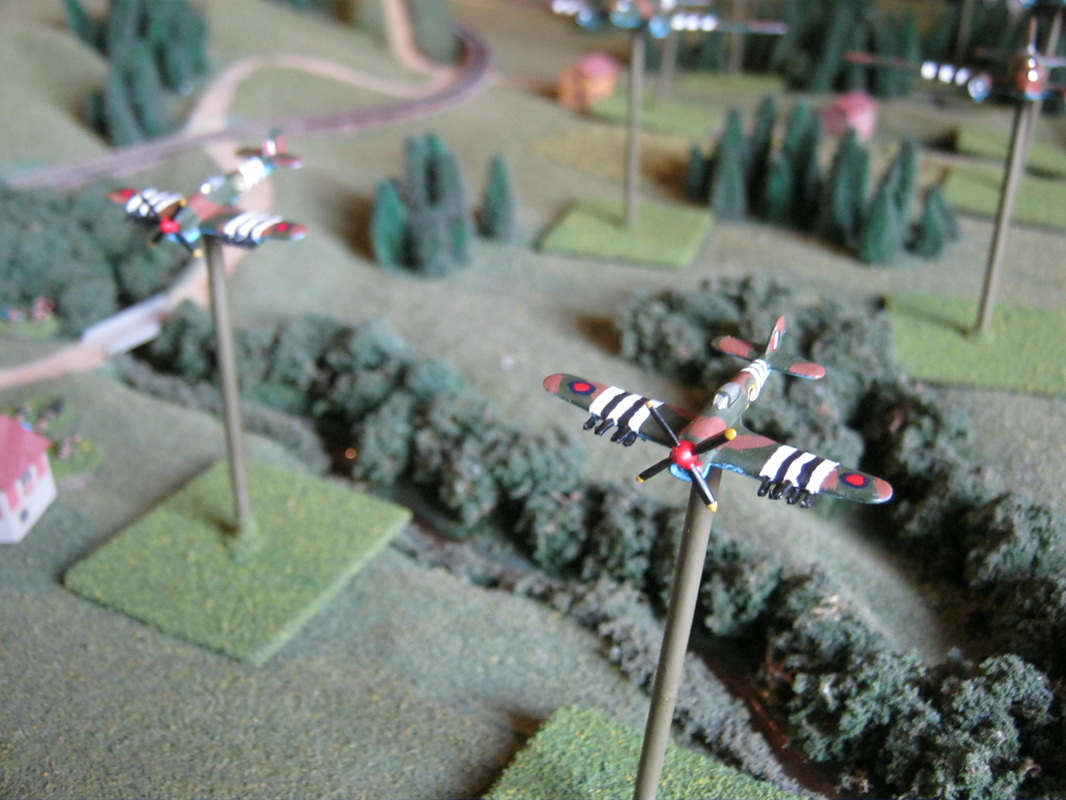
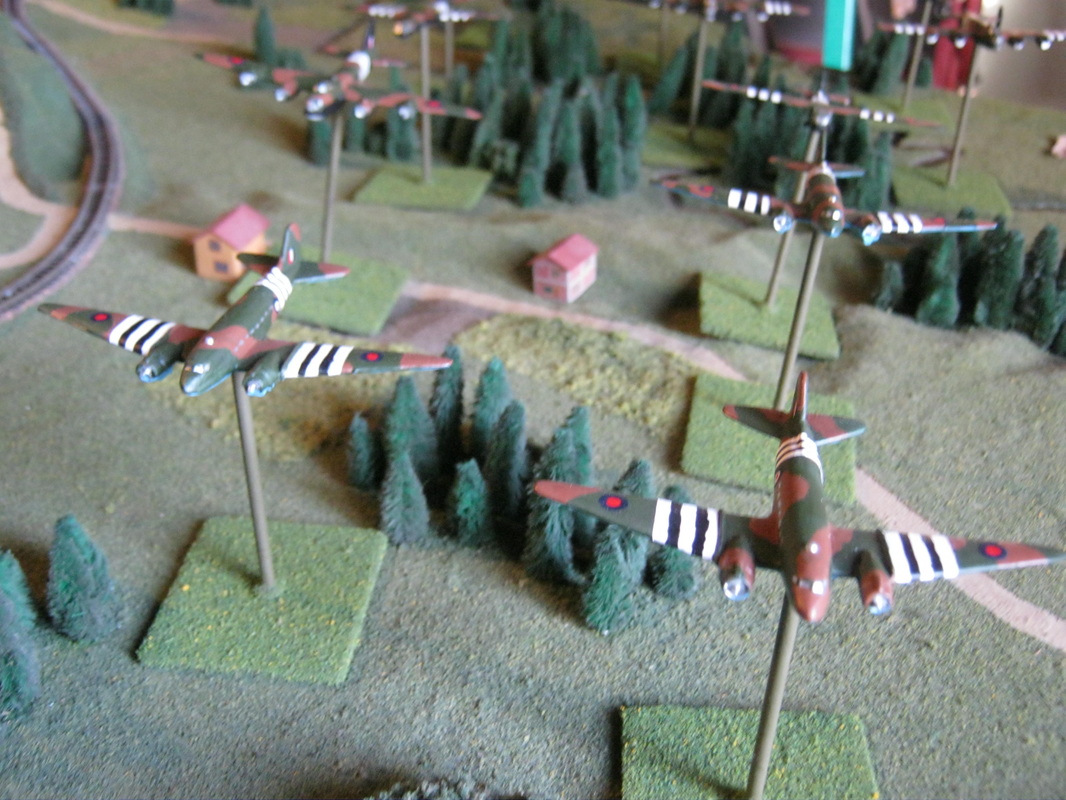
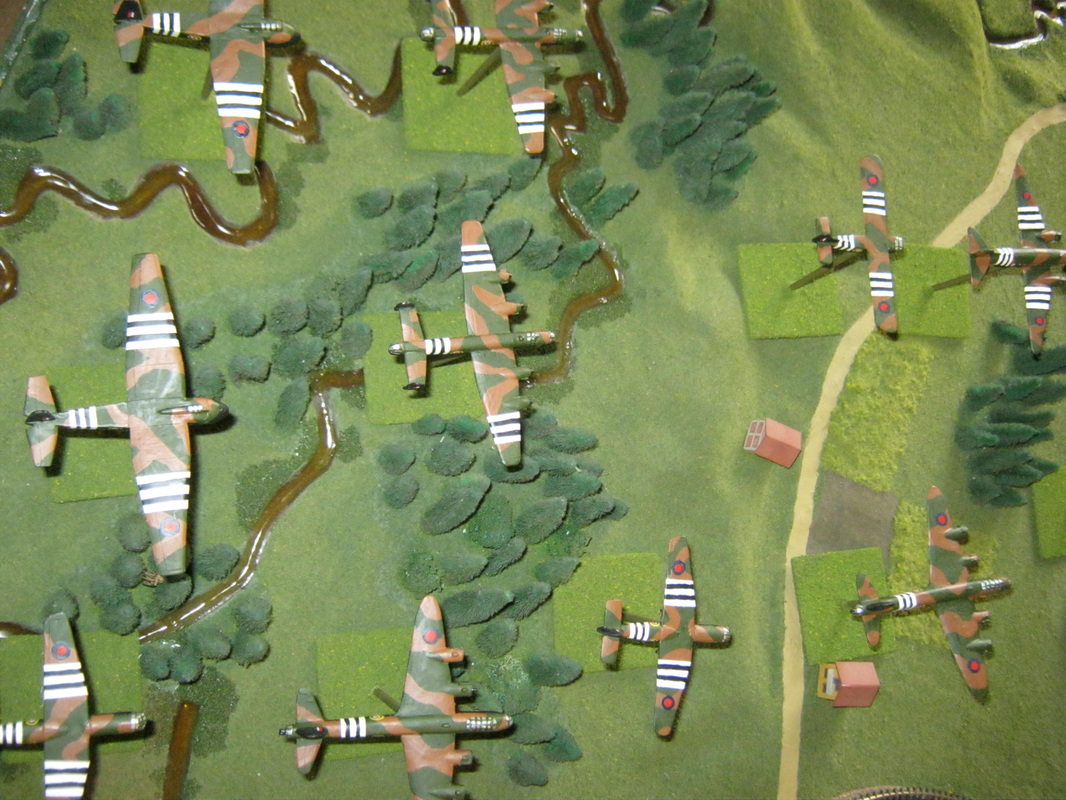
To the left and right is the approach of the air armada, with Tiffies leading the way for suppression of ack ack. Behind them are the troop carrying Dakotas who will drop in first to secure the LZ for the airlanding troops. Following them are Dakotas towing Hadrians, Horsas being towed by Stirlings, and Halifaxes towing Hamilcars. |
|
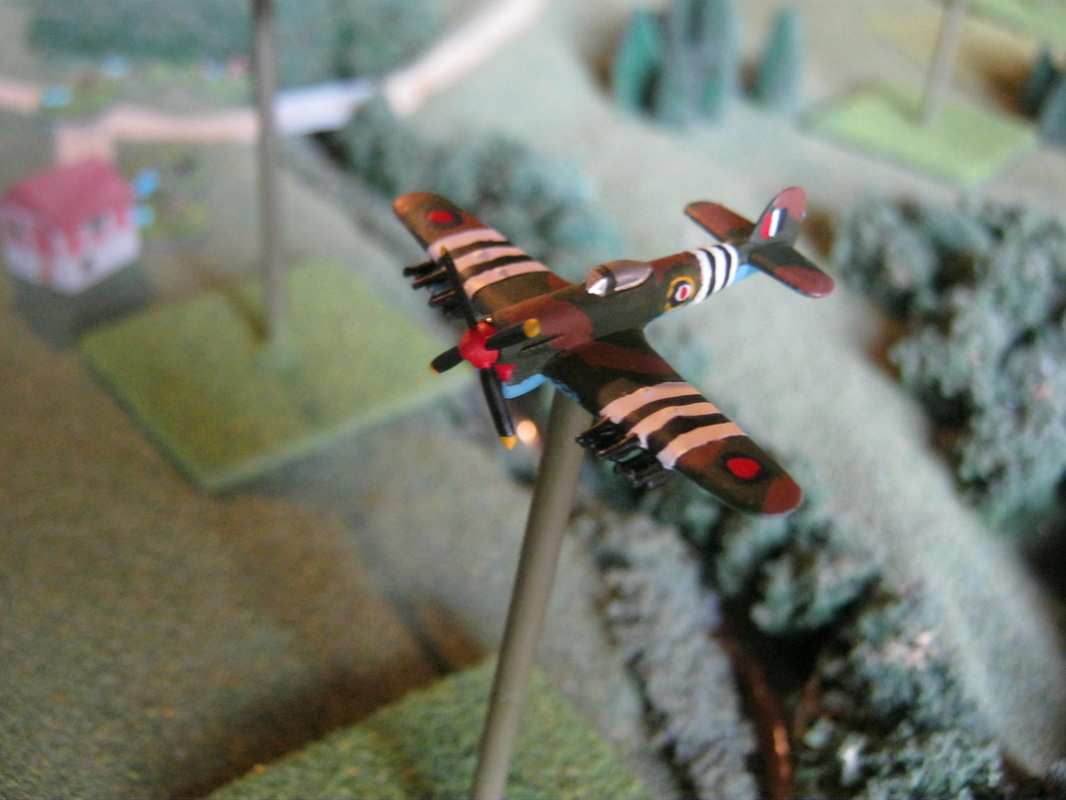
To the left is a close-up of one of the Tiffies. Everything is painted free-hand, as I didn't realize until shopping on GHQ today for their Black Friday sale that they sell decals for both RAF roundel insignia and invasion stripes. But even without the easy way, I think they came out good. Bear in mind the Typhoon in the photo to the left is only 1 and 1/4 inch long. My eyesight has become bad enough at 50 that I have to use a magnifier headset to do the work, and as soon as I take the magnifier off, the work I did is just a colorful blur.
|
|
To the left, one last view from overhead of the armada before the drop.
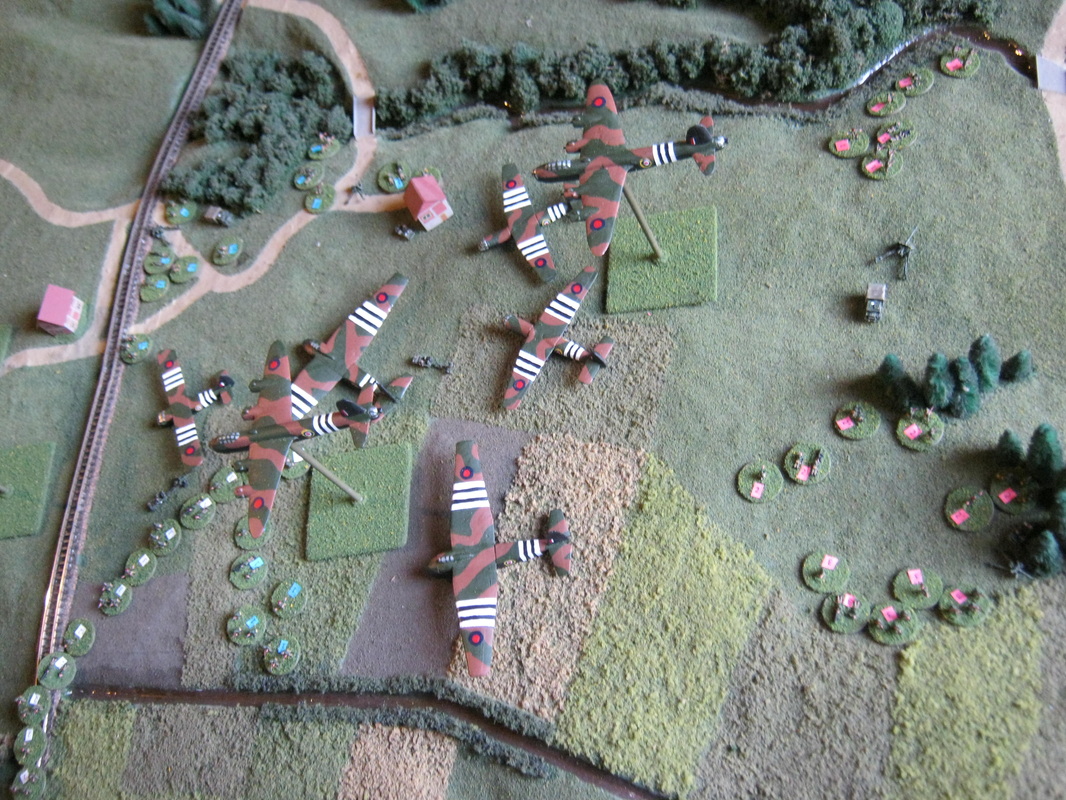
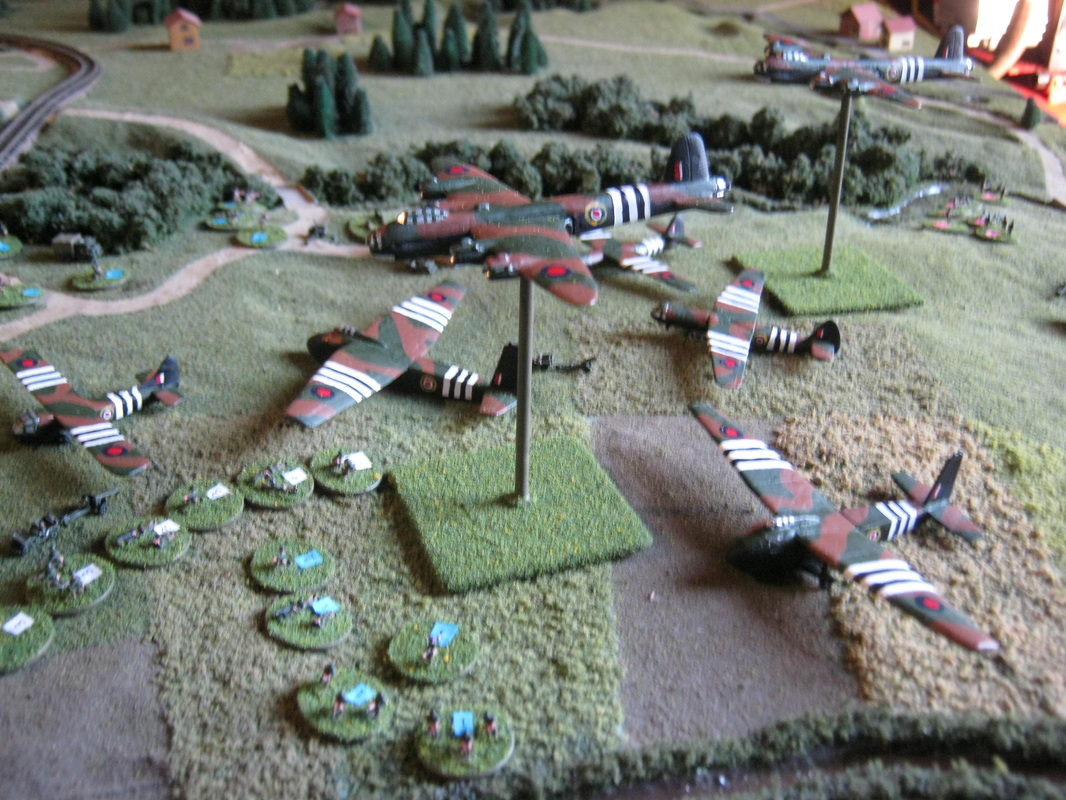
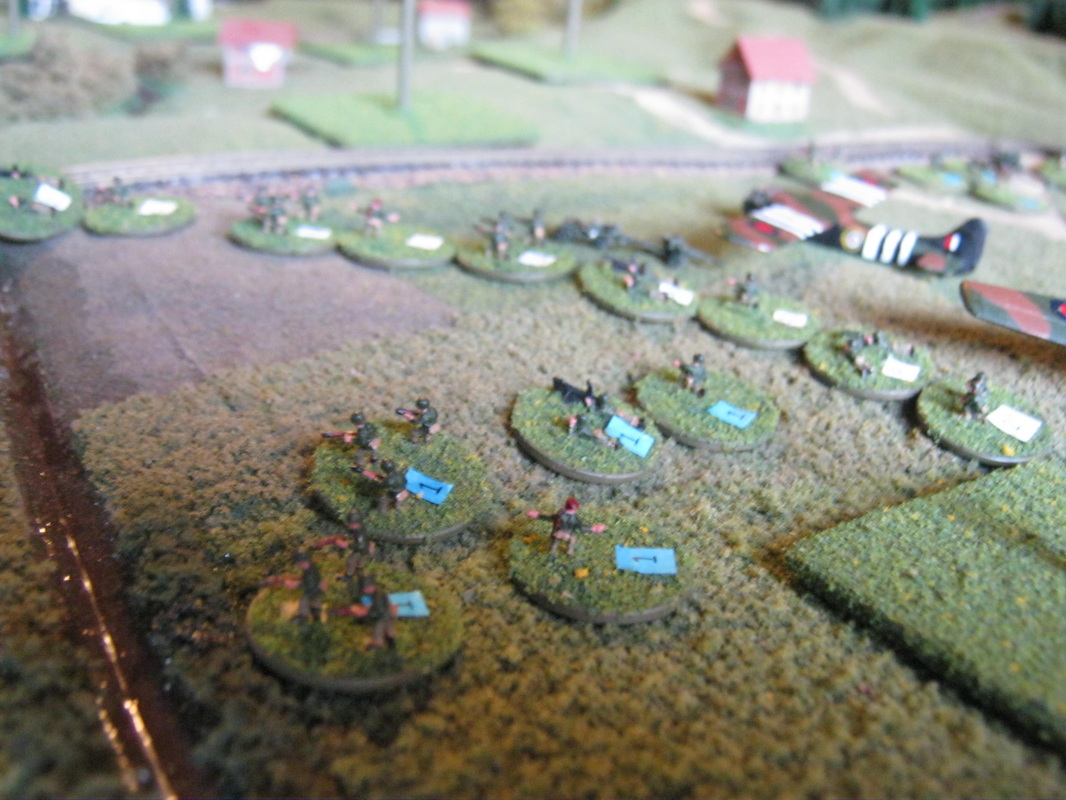
To the right, the LZ from above just after the first lift has landed. The parachute battalions and airlanding battalions have formed up and are establishing the defense of the perimeter, while the first column of marching infantry has formed up and is heading for the objective. |
|
As the troops on the ground all execute their initial missions after landing, Stirling bombers fly over the LZ dropping supplies to the first lift at the tail end of the air armada.
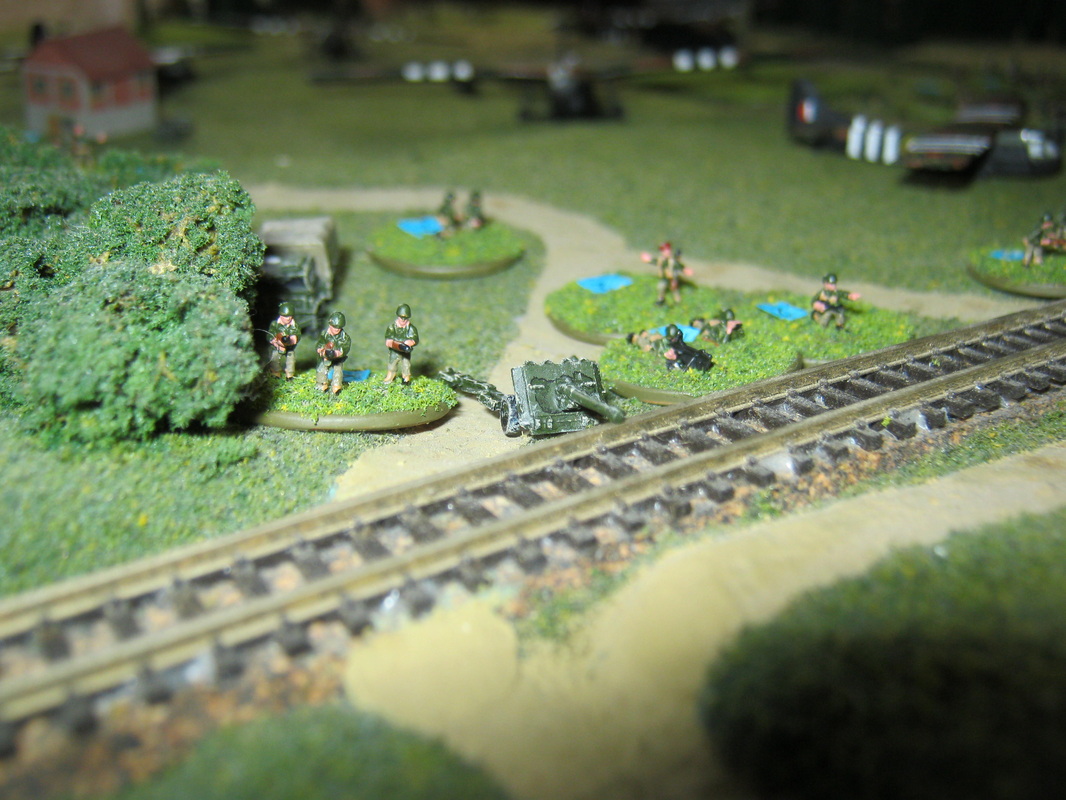
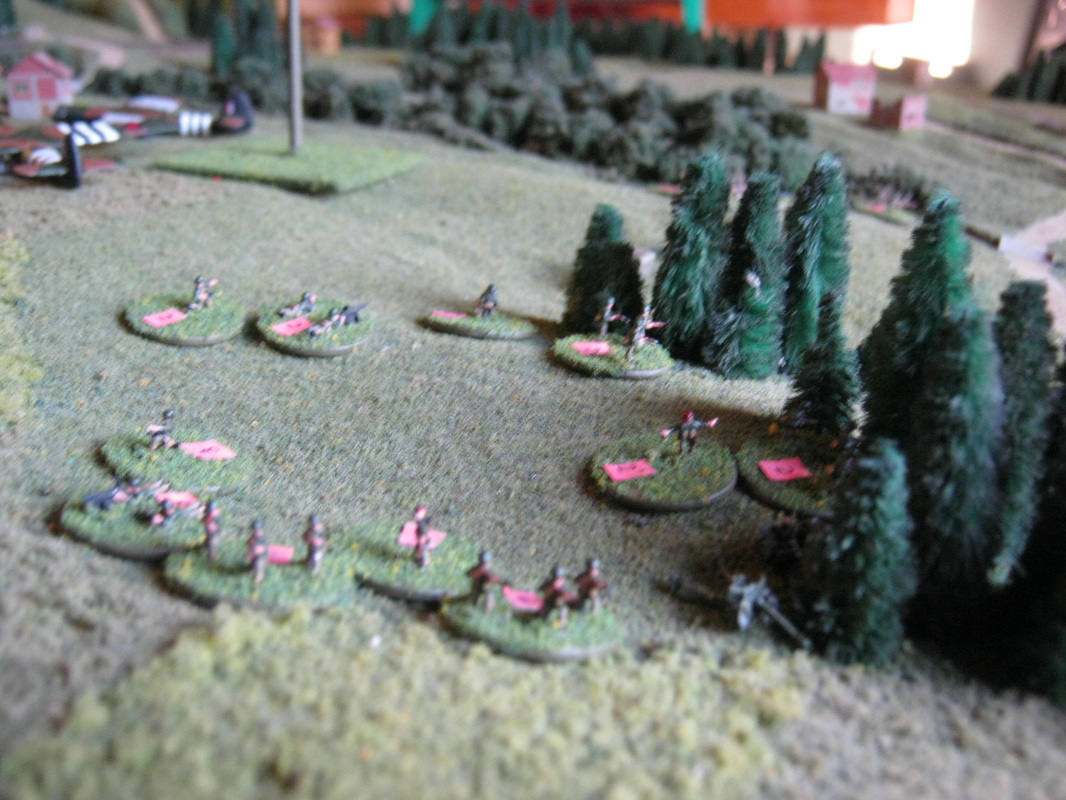
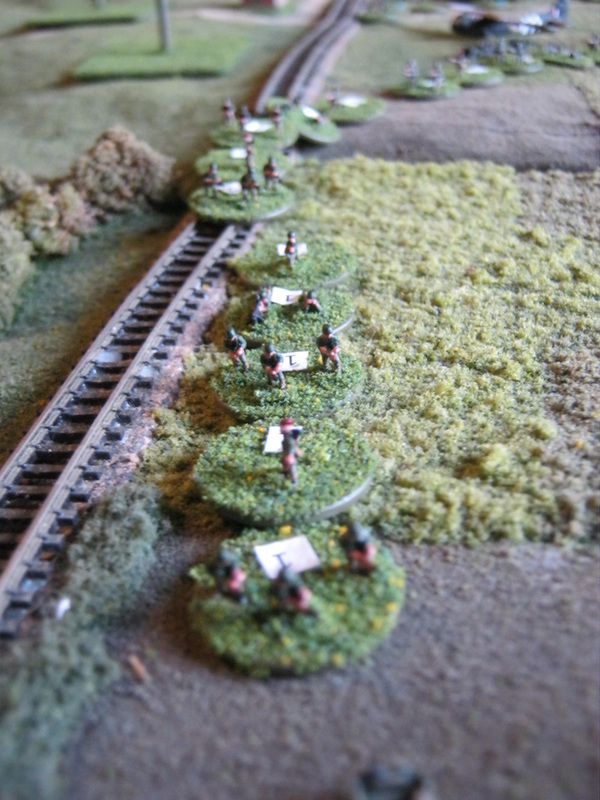
To the right, second platoon of first company have established a defense on the southwest corner of the perimeter, with their position centered on a 17 pounder antitank gun of one of the Royal Artillery Air Landing Antitank Batteries. For perspective, not that the three riflemen in fore ground to the left of the gun are mounted on an American penny used for the base, as are all the troops. |
|
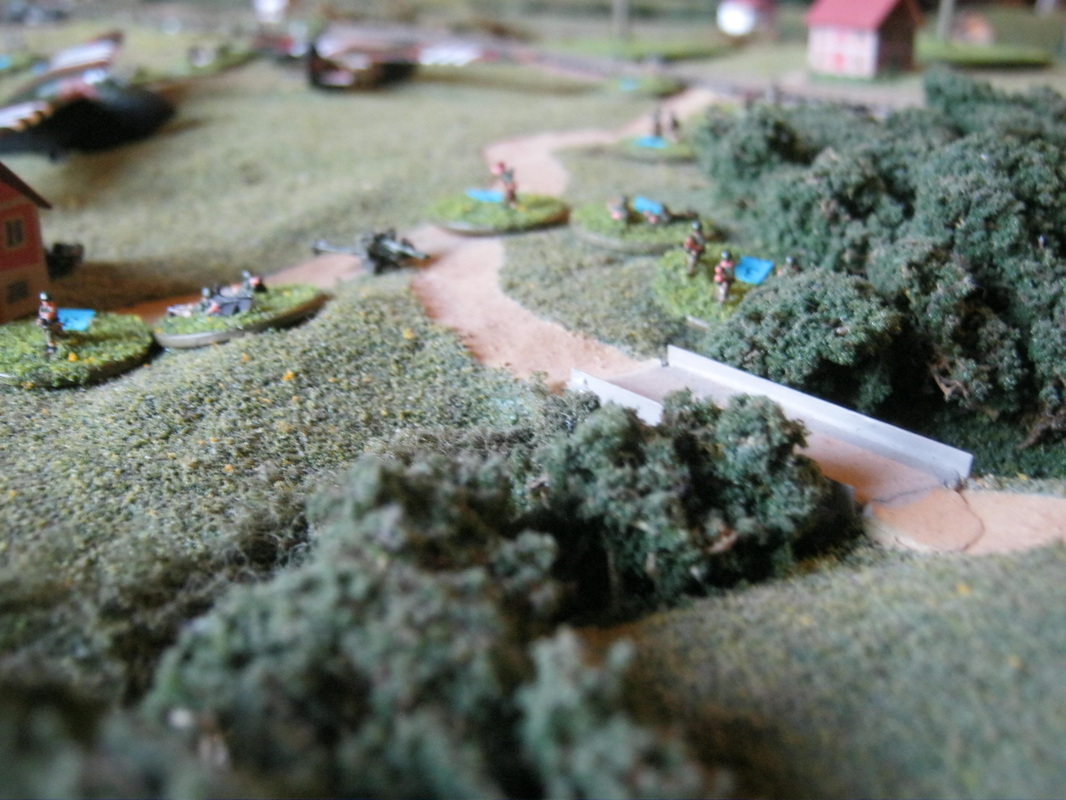
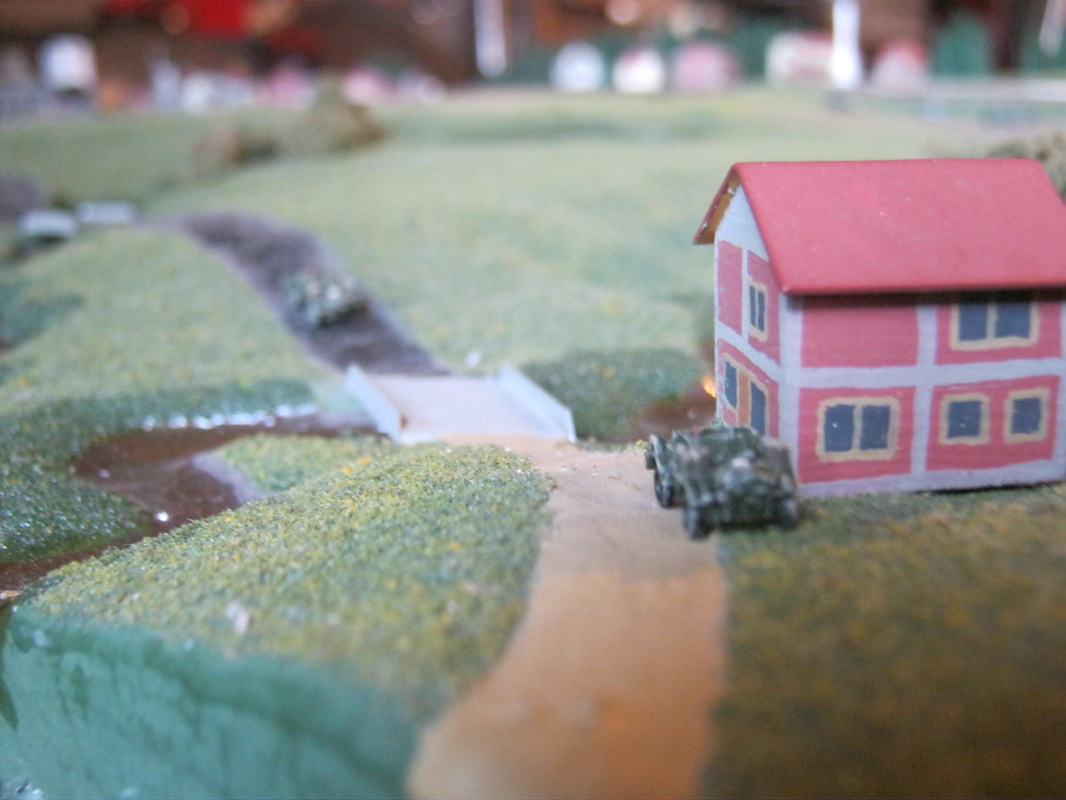
To the left, third platoon of first company are defending the western side of the LZ, covering a bridge with the assistance of one of the battalion's 6 pounder antitank guns. As soon as the last task of painting the gun crews is done, hopefully tomorrow, the guns will be mounted on pennies as well along with their crews. The jeep towing vehicle for this gun can just be seen parked next to the house at the left.
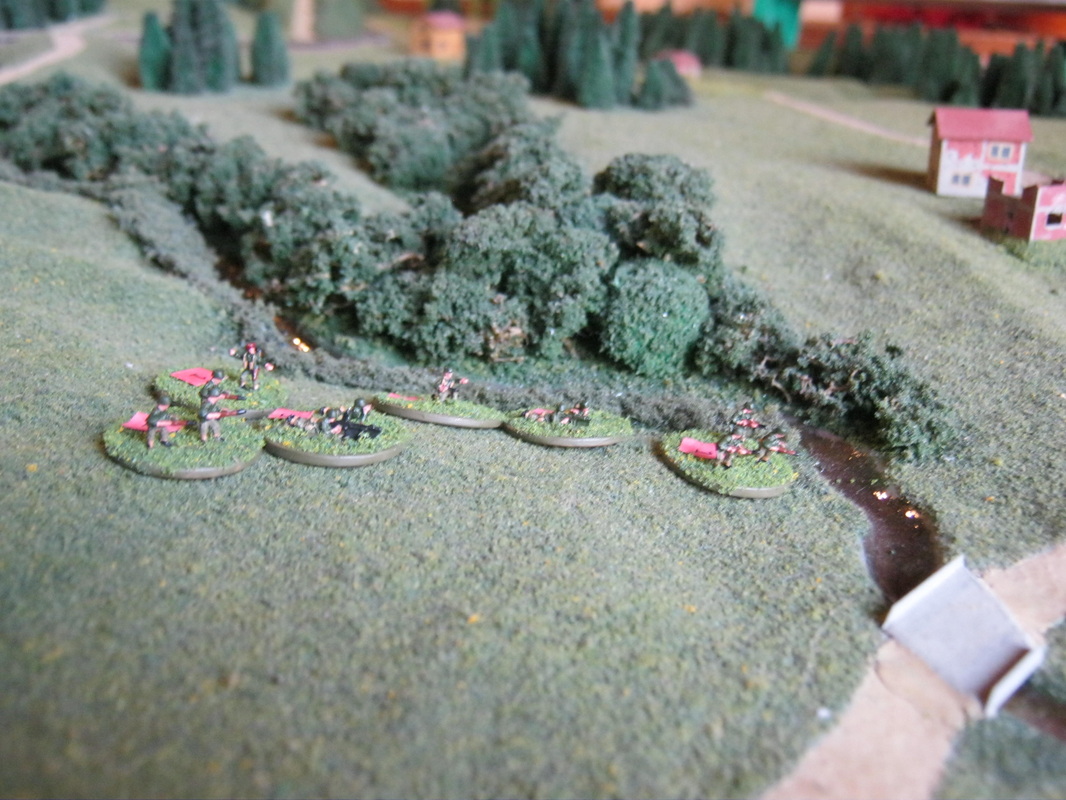
To the right, the first platoon of first company are guarding the approches to the LZ from the northwest. |
|
To the left, second platoon of second company is establishing defenses along the northeast corner of the LZ, also assisted by an antitank gun. Each element of 10 infantryman consists of six riflemen, the bren gun no. 1 and no. 2, the section leader, and the section 2ic. Each platoon also has a 2" mortar team and PIAT team.
To the right, the first element leaving the LZ has formed into column and is marching out of the perimeter toward the objective. |
|
To the left, our marching infantry are on their way towrad the objective.
However, far ahead of them, with the advantage of the internal combustion engine and armor plate, on the right, are the leading elements of the 6th Airborne Armoured Reconnaissance Regiment. A section of Daimler Dingo scout cars are moving down the northern rout to the objective. The near (rear) Dingo is overwatching the lead (far) dingo as it crosses the bridge and establishes an overwatch position upon which the trailing Dingo will bound forward and then the process will be repeated. |
|
Following up the Dingoes on the northern route, the rest of their squadron moves toward the road through the trees and low ground in staggered column. So far, with nothing opposing them heavier than armoured half tracks and 20mm flak guns, the squadrons have brushed aside the scattered and unprepared resistance.
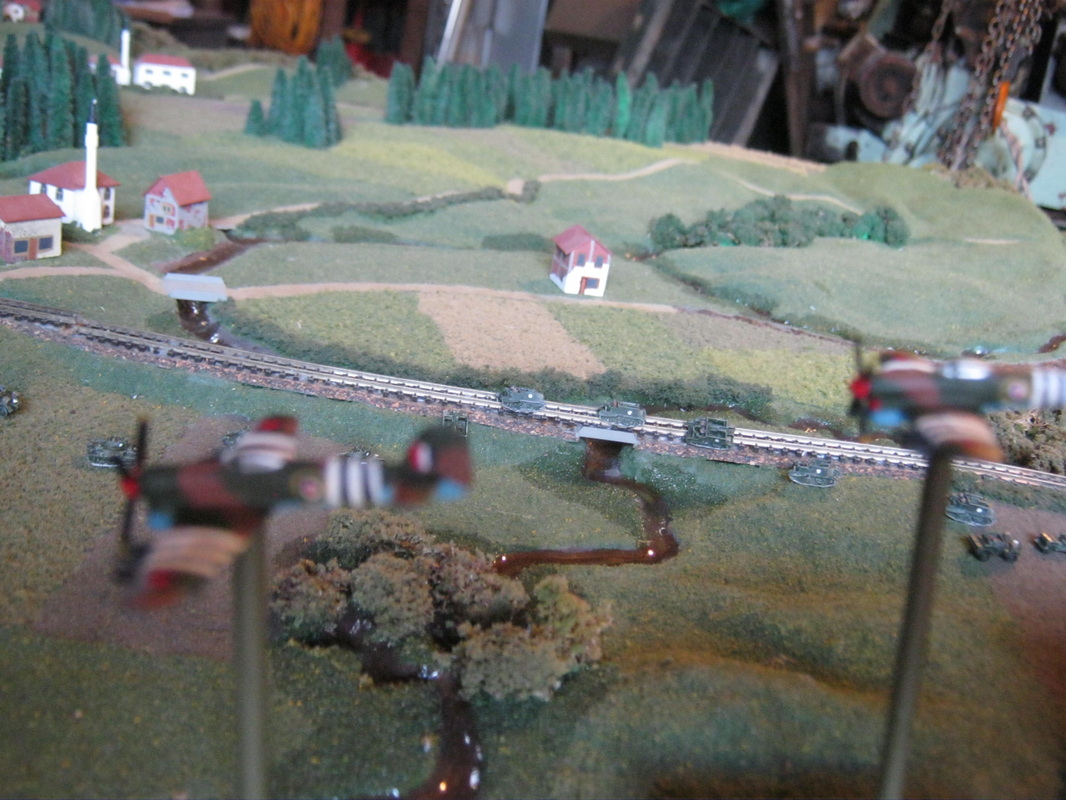
To the right, the regiment's other recce squadron is following the southern route to the objective, as Typhoons hunt ahead for anything of germanic origin. |
